Your website is live, you’ve invested time and money into building it, but how do you know if people can actually find it on Google?
Many business owners assume their website will automatically appear in search results after it’s published. Unfortunately, that’s not how Google works.
One of the first tools every website owner should set up is Google Search Console. It’s a free service from Google that helps you monitor your website’s visibility, identify SEO issues, and understand how your pages perform in search results.
In this guide, we’ll explain what Google Search Console is, why it matters, and how to connect it to your WordPress website.
What Is Google Search Console?
Google Search Console (GSC) is a free tool provided by Google that helps website owners monitor, maintain, and improve their website’s presence in Google Search.
Instead of guessing whether Google has found your pages, Search Console gives you valuable insights, including:
- Whether your pages are indexed by Google
- Which search keywords bring visitors to your website
- How many people click your website from Google Search
- Technical issues affecting your SEO
- Mobile usability problems
- Core Web Vitals and page experience reports
Think of it as a direct communication channel between your website and Google.
Why Should Every WordPress Website Use Google Search Console?
Even if your website looks professional, it doesn’t mean Google understands it.
Without Google Search Console, you may never know that:
- Your homepage hasn’t been indexed.
- Some pages return errors.
- Important pages are excluded from Google Search.
- Visitors can’t find your services because you’re targeting the wrong keywords.
Search Console helps you identify these problems before they affect your business.
Before You Start
Before connecting your WordPress website, make sure you have:
- A Google account
- Access to your WordPress administrator dashboard
- Access to your domain’s DNS settings (recommended method)
Step 1: Add Your Website to Google Search Console
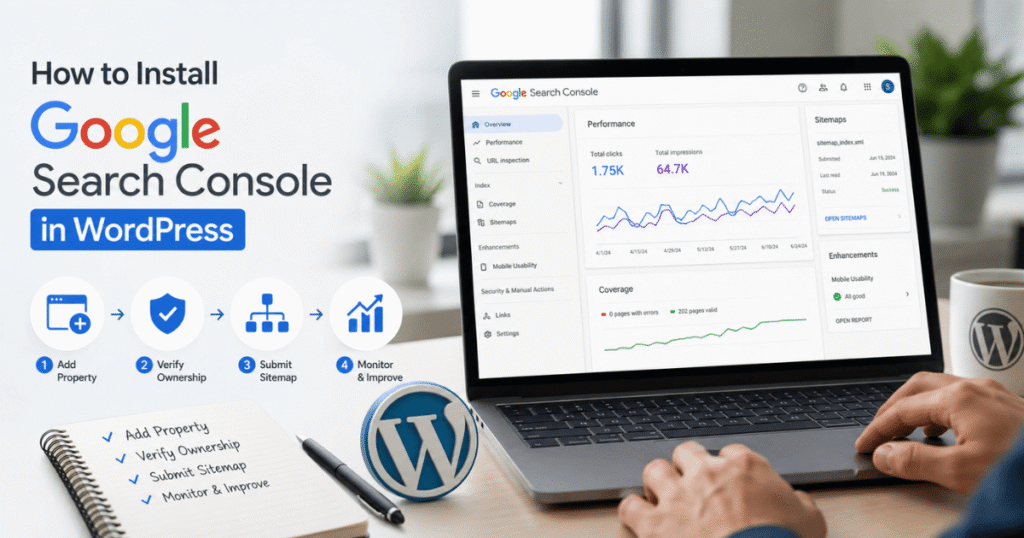
Start by signing in to Google Search Console using your Google account and click “Add Property.” Google will ask you to choose between two verification methods: Domain Property or URL Prefix.
For most WordPress websites, Domain Property is the recommended option because it tracks your entire domain, including all subdomains and both HTTP and HTTPS versions.
Although the URL Prefix method is easier to set up, it only verifies the exact URL you enter, which may result in incomplete data if your website has multiple versions.
Step 2: Verify Ownership Using DNS
After selecting Domain Property, Google will provide a TXT verification record.
- Copy the TXT record.
- Next, log in to your domain registrar or DNS provider (such as Cloudflare, GoDaddy, Namecheap, or your
hosting provider). - Locate your DNS Management settings and create a new TXT Record.
- Paste Google’s verification code into the TXT record and save your changes.
- DNS updates may take anywhere from a few minutes to several hours.
- Once the record has propagated, return to Google Search Console and click Verify.
- If everything has been configured correctly, Google will confirm that your website has been verified.
Step 3: Submit Your Sitemap
Verification only tells Google that you own the website.
To help Google discover your pages more efficiently, you should also submit your XML sitemap.
If you’re using an SEO plugin such as Yoast SEO or Rank Math, your sitemap is usually available at:
https://yourdomain.com/sitemap_index.xml
In Google Search Console:
- Select your website.
- Click Sitemaps from the left menu.
- Enter: sitemap_index.xml
- Click Submit
Google will begin crawling your website using this sitemap.
Step 4: Request Indexing for Important Pages
Whenever you publish a new page or blog post, you don’t have to wait for Google to find it naturally.
Instead, use the URL Inspection tool in Google Search Console. Simply paste your page URL into the search bar, and if it hasn’t been indexed yet, click Request Indexing.
This sends your page to Google’s crawling queue and may speed up the indexing process.
What Should You Check Regularly?
Installing Google Search Console is only the beginning. To get the most value from the platform, it’s worth checking your reports regularly to ensure your website stays healthy.
Pay attention to areas such as:
- Search performance and keyword rankings.
- Indexing status of important pages.
- Core Web Vitals and page experience.
- Crawl errors and broken pages.
- Mobile usability issues.
By reviewing these reports regularly, you can identify potential problems before they affect your search visibility.
Final Thoughts
Installing Google Search Console is one of the easiest yet most valuable steps you can take to improve your website’s SEO. It gives you direct insights into how Google views your website, helping you monitor search performance, fix technical issues, and ensure your pages are discoverable.
If you’re using WordPress, setting up Google Search Console only takes a short time, but the long-term benefits are significant. Combined with a well-optimised website and quality content, it can become one of your most powerful tools for growing your online presence.